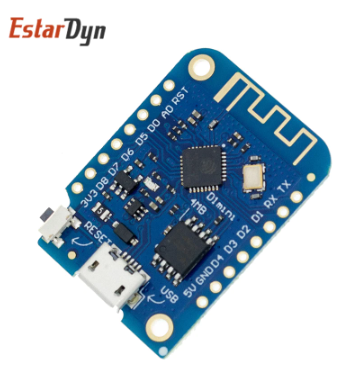
Wemos D1 Mini
- 2 possible ways
- By flashing program see directly below
- By website see 2nd part of the page
- Troubleshooting
!!!! IF THE DEVICE IS FLASHED AGAIN THE FIRST WIFI DATA IS REMEMBERED !!!!!
There is no need to connect to your access point again
Programmeren via ESPEasy Model “D1 MINI pro V3.0.0”
ESPEASY images can be downloaded from github
What exactly is the function of the vcc versions of the firmware?
If you need to monitor the battery of a battery driven unit you want to have VCC enabled. It must be done at compile time since it will take over the analog function internally.
Flashing
- Download ESP flasher
- At the bottom choose the right board and download
- Extract the file
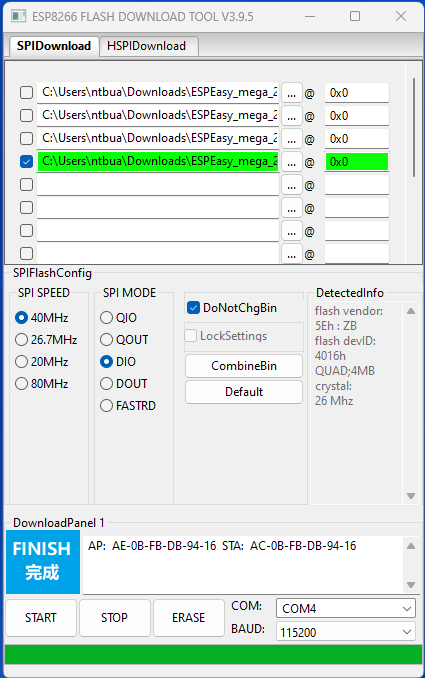
- in sub directory flash_download_tool_x.x.x run flash_download_tool_x.x.x.exe
- in sub directory bin you find the images
- Connect ESP
- Check com portnr at device manager
- Check Baudrate 115200 (can be faster)
- select ESP_Easy_mega_normal_20220616_4M1M.bin (example)
- Set 0x0 at right column (not clear to me)
- Flash the device with ESPEasy by clicking on start
- New access point is available “ESP Easy” or other name like “collection” password “configesp”
- The IP address is 192.168.4.1
- Setup WiFi
- Connect
- When connected safe the information you get
- below is a button to the new address
- Connect to your original access point
- otherwise check assigned IP address in router
- Go to new IP address
- Setup like you needs are
Setup the new device
- New access point is available “ESPEasy” or other name like “collection” password “configesp”
- The IP address is 192.168.4.1
- Setup WiFi
- Connect
- When connected safe the information you get
- below is a button to the new address
- Connect to your original access point
- otherwise check assigned IP address in router
- Go to new IP address
- Setup like you needs are
To start over I first flashed blank_4MB.bin
Check Save downloaded zipfile
check Update flasher too
Flashing the ESP by website
Troubleshoot
ESPEASY P2P
- Config > must be activated and different unit numbers
- Controllers > add at #1 a ESPEasy P2P Networking controller
- portnumber 8266 (both esp the same)
- Check at Tools > Advanced > ESPEasy p2p UDP port:
- Make sure it is enabled
- At the Main page the node list must contain 2 nodes.
- portnumber 8266 (both esp the same)
- Hardware no change
- Devices > create one wire sensor
- Make it working
- Send to controller 1
- refresh rate 5 sec ( not necessary )
- Make sure it is enabled